
Back to Dispatches from Field School
Field School 2018 – Week 5, Part 1
Moira Sullivan — St. Vincent’s College
“Site Work: Learning Something New”
We spent the last three weeks troweling through our units and screening our soil, but this week some of us got to do something a little different. My unit-mates and I got to spend a lot of time with pencil and paper as we sketched our unit and analyzed soil types. This week marked the first that our unit had to go through this kind of documentation, so we had to learn what to do every step of the way.
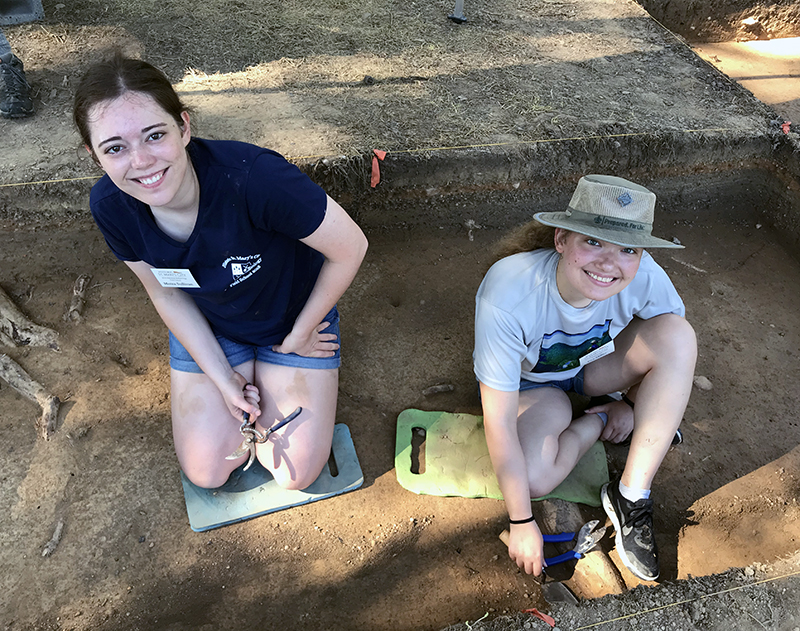
Field school students Moira Sullivan (left) and Eva Miller clean their excavation unit prior to mapping it
Archaeology is all about being meticulous. When it comes to sketching and soil types, being meticulous means keeping good records, which can help in the future when analyzing data. Say that you have two features, and in each feature, you found a sherd from the same ceramic. The fact that you have pieces of the same ceramic in two different places can tell you a lot about the features, but you wouldn’t know that if you weren’t careful when you were documenting the unit. It was important that we map our unit correctly.
Tuesday was spent mapping the features in our unit. This was a three-person process. One person used a rod to determine points around the edge of a feature, while another person used a total station to find those points and read out their coordinates. The third person mapped those points on paper and, once a feature was mapped, connected the dots to form the feature. It was much easier than trying to draw freehand would have been, and it was a quick process when we got the hang of it.
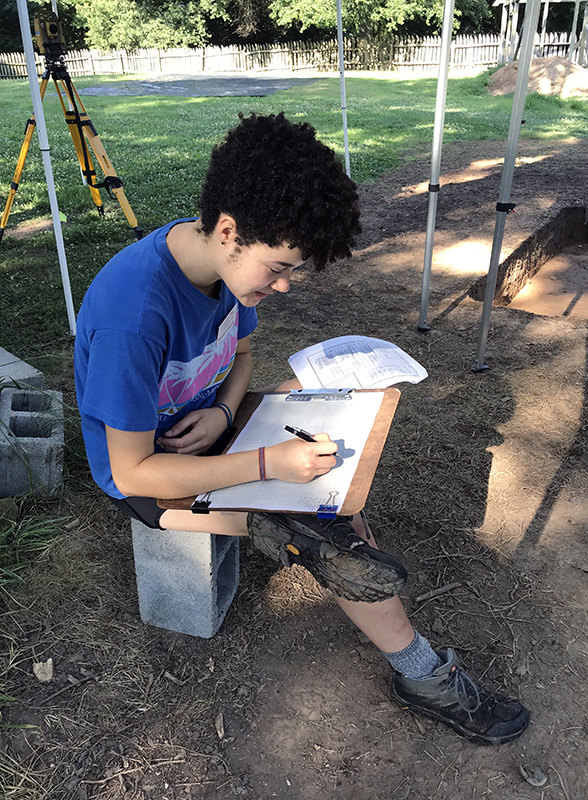
Field school student Shaelyn Harris works on a detailed map
On Friday, we finished mapping our features, then mapped roots and large rocks. Roots and rocks are part of our units too, and we need to make sure we record where they are. Once everything was mapped in, the sketcher started solo work shading and adding in smaller details. Everything from features to different colored soil has its own symbol in archaeological record-making. Having the same symbols makes it easier for archaeologists to understand what our maps mean.
On Saturday we learned how to analyze and record soils. For each feature and the subsoil, we had to use a color guide to find the color of the soil, determine the texture of the soil (sandy, clay, silty…), find any inclusions, and record the same for any mottling of different-colored dirt in the feature. It looked complicated, but the process is step-by-step, and the more we worked with the soil, the easier it became to tell the difference the different types. We also sketched one of the walls of our unit to record the stratigraphy of the layers we went through, what was in them, and what they looked like.
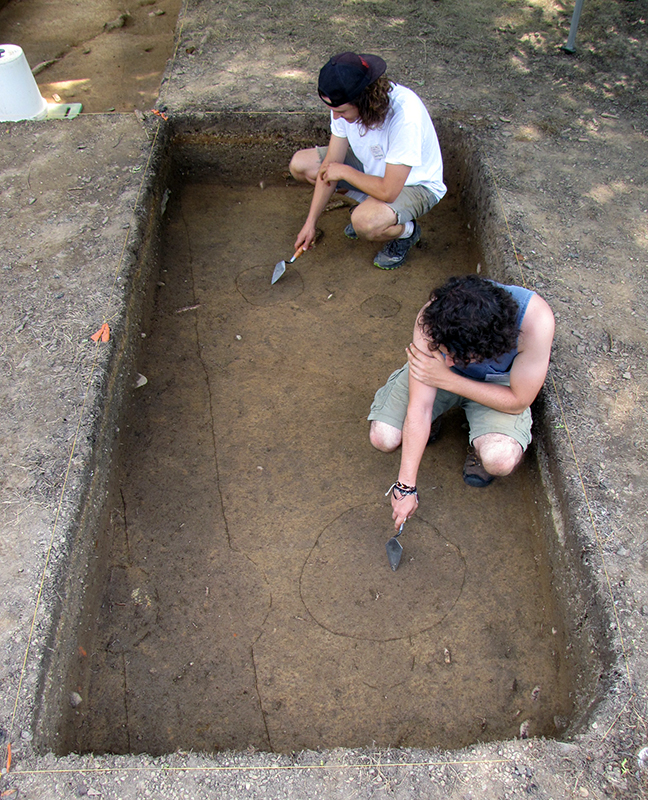
Field school students Luke Koenig (top) and Patrick Hodge point to post holes in the base of their excavation unit. Note also the fence line running along the wall in the left side of the photo
Learning how to do this stuff was important and made this week very interesting. Just as interesting was learning why we record it, and how important details can be for discovering more about your site.